So you guys already know I love making paper flower crafts–and so did my kids. This craft project is bit more intricate and advanced.
If you’re just starting out with your kids, I’d suggest these two flower craft projects first:
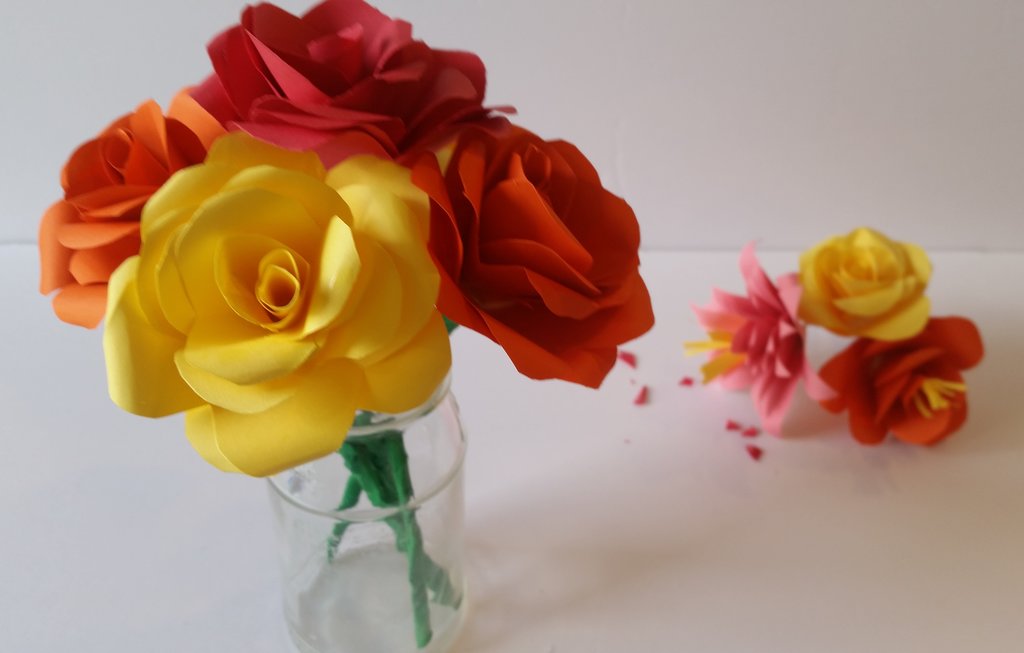
If you guys are ready to move on to making these beautiful roses, then let’s do it. These are great roses you can use to decorate your home or give to a friend, teacher, or mom on Mother’s Day.
Here’s what you’ll need:
4 square pieces of paper, 4×4 or 5×5 inches
6 twisty ties or one long pipe cleaner
Masking tape (green or a green marker to color the tape)
Scissors
Small paint brush
Pen or pencil (optional)
The video is at the bottom but here are the directions:
1. Fold a square in half
2. Fold over each side of the rectangle at an angle that creates one point, like an arrowhead shape
3. Cut out a petal from the “arrowhead” then unfold it (looks like a flower with six petals)
4. Repeat with the three other squares
5. Cut one flower in half
6. Cut out two petals (like a heart shape) from another flower
6. Cut one petal out of the two remaining flower shapes
7. Curl the petals down by wrapping the edge around the end of the paint brush
8. Bend the end of two twisty ties or a pipe cleaner, put the bent end in the middle of the largest flower patter and glue the flower shape together.
9. Glue each of the other petal pieces together to make different size “cones” that will fit, one into another
10. Put glue at the bottom of the largest cone, then fit the next one inside. Repeat the steps for all the cones. Trim the tips if needed and let dry.
11. Add more twisty ties to the step for desired length.
12. Use masking tape to secure flower to stem, then wrap the tape around the twisty ties from the top to bottom.
13. Make a leaf by putting two pieces of green masking tape together, then cut out a leaf shape. Add to the stem with more tape wrapped around it.
I hope you enjoy this step-by-step tutorial.
And here’s the look at the stem.